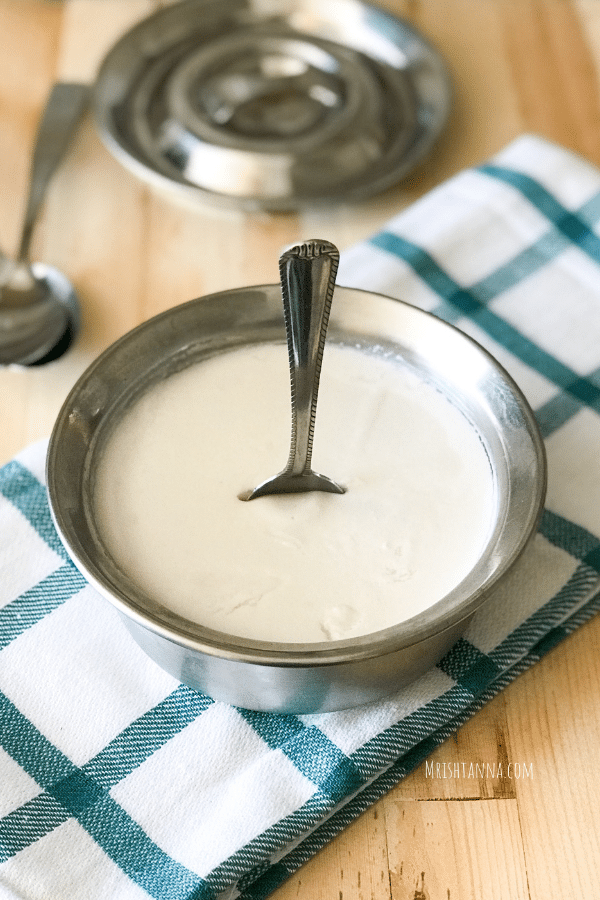
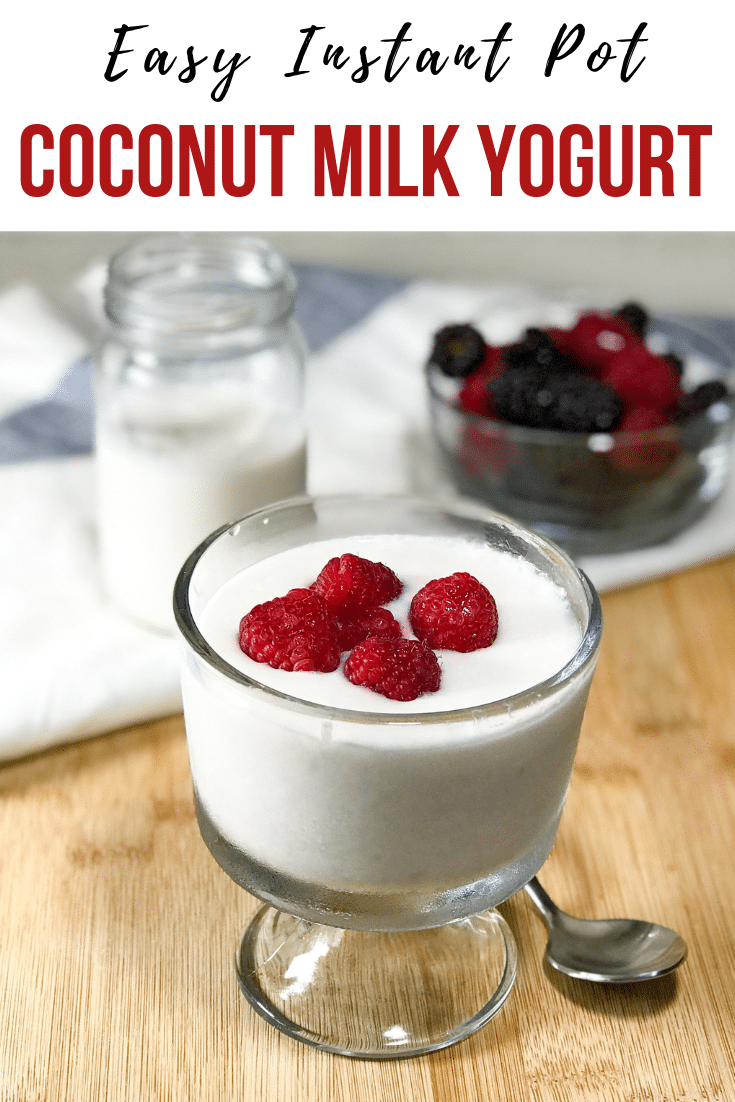
Today I am sharing easy, dairy-free, and homemade Yogurt from Coconut Milk with the Instant Pot!
If you're thinking about making dairy-free yogurt, but are hesitating because you think it's difficult, let me guide you through the process. It's super easy to make if you follow a few key steps.

Jump to:
Ever since my family embraced a vegan lifestyle, I have tried a lot of options for a dependable and repeatable way to prepare non-dairy yogurt and I am glad that this recipe actually works.
I have tried Soy Milk yogurt several times with decent success. It turned out pretty good with all the necessary probiotics, however, I stopped consuming soy milk after I was diagnosed with problems in my thyroids.
I had also tried it with almond milk however it did not have the texture I was expecting from yogurt. Coconut milk is one option that seems to have the right answer for all the vegan yogurt lovers out there…
I cannot believe how much I have come to depend on the Instant Pot. But when it has a setting called "Yogurt", it was just about time I shared a recipe like this one. Instant Pot makes the process super easy and simple.
Although the fermenting process within the Instant Pot is long just like the traditional method, the end result is worth every bit of the effort.
After all, the homemade version will beat the store-bought version any day. There is no need to consume store-bought kinds that can be loaded with sugar.
Ingredients used for coconut yogurt
Coconut milk 18% fat or full fat
How to thicken the coconut milk yogurt?
When I made my first-time coconut yogurt, it was not as thick as store-bought. But then after a little bit of research, I found out that it needs ingredients like agar, gelatin, or some kind of a thickener for that to happen.
Then I decided to make a subtle variation by adding a little bit of rice flour because it's inexpensive and easily available.
But again, it is an optional item and does not have any effect on the fermenting process.
Expert tips
- Be sure that the inner pot is clean and dry. Clean with warm water and soap.
- Be sure to buy Unsweetened, Organic, coconut milk or coconut cream with no guar.
- You don't have to buy full-fat coconut milk. I prepared this with 18% and 22% fat versions.
- If you are making this for the first time purchase a vegan starter culture. After you've prepared it a few times and if you are happy with it, you can start saving a tablespoon of yogurt to make new batches, but wait to do that until you've got the hang of making yogurt. I used my homemade coconut yogurt three times in subsequent batches.
- DO NOT add your starter yogurt until the yogurt has cooled to 100-105 F. If you add the starter sooner, it will kill off most of the live cultures.
- If you don't have a thermometer, wait until the milk reaches a light, warm temperature. (you can check with your fingertip)
- You can boil the coconut milk in an instant pot before making yogurt. I chose to boil it in a separate pan and poured the coconut milk in a steel vessel. Then I placed the container inside the instant pot for fermentation.
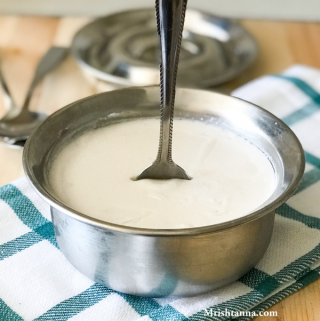
- The yogurt tends to thicken during the cooling process. If your yogurt is relatively thin, don't worry!! It will likely thicken some when cooled.
- Though it thickens as it cools down, I recommend adding a bit of rice flour. By adding 2 teaspoons of flour you'll get a thicker yogurt, If you don't mind a thinner yogurt, feel free to skip the rice flour.
- Before adding rice flour to the coconut milk, stir the flour with a small amount of warm coconut milk in a small bowl. This will help to avoid lumps or chunks in coconut yogurt.
- Go for a longer fermentation duration. Typically 10- 12 hours.
- After the yogurt is complete, place it in the refrigerator for 4- 6 hours to get a nice and thick version.
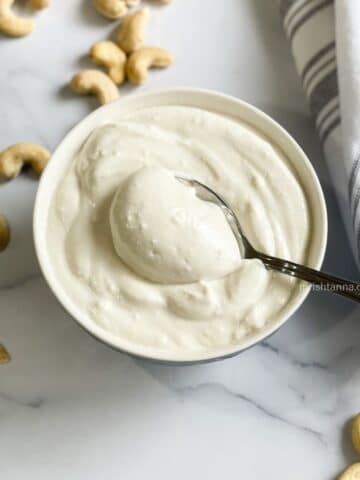
- The procedure is the same whether you choose to use coconut milk or coconut cream. I noticed a creamier and thicker yogurt from coconut cream.
Before starting your coconut milk yogurt please read my full procedure here, so you don't miss the finer details.
How to use coconut milk yogurt?
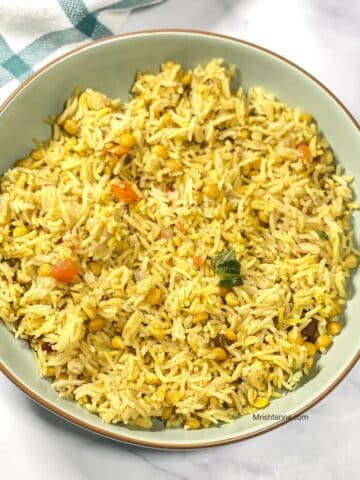
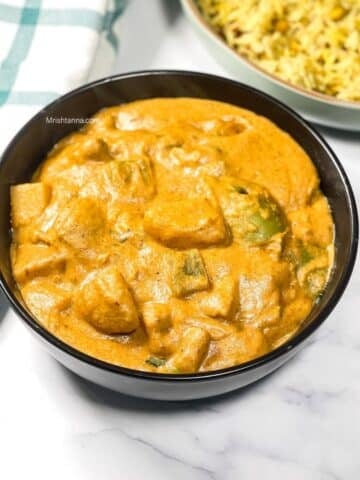
You can enjoy homemade coconut yogurt as-is or enjoy it with a fruit or in a smoothie. You could also prepare delectable recipes like Lassi, raita, cake, or several Indian curries that call for yogurt.
This could be the best sugarless yogurt you have ever eaten. But if you prefer it sweet, you could always sweeten it up with table sugar.
You might also like


📖 Recipe
Instant Pot Coconut Milk Yogurt
Equipment
Process Shot
Check above for step-by-step pictures (most of my recipes include pictures)
Ingredients
- 1 can of organic coconut milk (18% fat) or coconut cream (22% fat) with no guar.
- 2 teaspoon rice flour - optional
- Vegan yogurt starter - probiotic
- Or use 1 tablespoon homemade coconut yogurt
Instructions
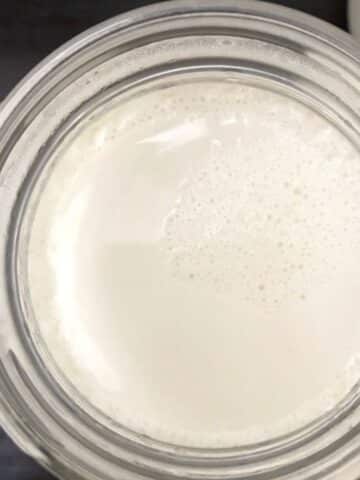
- Boil one can of coconut milk or coconut cream in a pan on a stove top. (You can also choose to do this with instant pot).
- Meanwhile, mix the rice flour with a small amount of warm coconut milk and whisk light to avoid lumps.
- Pour the rice flour mixture to the boiling pan. Stir well to avoid lumps. Switch off the heat and let it cool down to about 100-105F.
- After it cools down, take 3 tablespoon in a bowl and add the yogurt starter and, whisk until smooth. Transfer back to the pot.
- Pour the coconut milk mixture to your favorite pot or jar then place the jar inside the instant pot. Close the lid, press 'Yogurt' setting and set the time to 10 hours.
- Refrigerate for a few hours to cool and thicken.
Notes
- Be sure that the inner pot is clean and dry. Clean with warm water and soap.
- Be sure to buy Unsweetened, Organic, coconut milk or coconut cream with no guar.
- You don't have to buy full-fat coconut milk. I prepared this with 18% and 22% fat versions.
- If you are making this for the first time purchase a vegan starter culture. After you've prepared it a few times and if you are happy with it, you can start saving a tablespoon of yogurt to make new batches, but wait to do that until you've got the hang of making yogurt. I used my homemade coconut yogurt three times in subsequent batches.
- DO NOT add your starter yogurt until the yogurt has cooled to 100-105 F. If you add the starter sooner, it will kill off most of the live cultures.
- If you don't have a thermometer, wait until the milk reaches a light, warm temperature. (you can check with your fingertip)
- You can boil the coconut milk in an instant pot before making yogurt. I chose to boil it in a separate pan and poured the coconut milk into a steel vessel. Then I placed the container inside the instant pot for fermentation.
- The yogurt tends to thicken during the cooling process. If your yogurt is relatively thin, don't worry!! It will likely thicken some when cooled.
- Though it thickens as it cools down, I recommend adding a bit of rice flour. By adding 2 teaspoons of flour you'll get a thicker yogurt, If you don't mind a thinner yogurt, feel free to skip the rice flour.
- Before adding rice flour to the coconut milk, stir the flour with a small amount of warm coconut milk in a small bowl. This will help to avoid lumps or chunks in coconut yogurt.
- Go for a longer fermentation duration. Typically 10- 12 hours.
- After the yogurt is complete, place it in the refrigerator for 4- 6 hours to get a nice and thick version.
- The procedure is the same whether you choose to use coconut milk or coconut cream. I noticed a creamier and thicker yogurt from coconut cream.
YOUR OWN NOTES
Nutrition
Nutritional information is an estimation only.
Save this recipe for later use

Gloria Smart says
I purchased a new instant pot and it doesn't have a yogurt setting. How should I make my yogurt?
Thanks in advance.
Gloria
Uma Raghupathi says
Hi, Gloria. Without the yogurt button, I never tried it before. But you can heat up the instant pot by pressing saute button add a little water and heat for 2 minutes. then place the pot or jar of coconut milk with cultures inside the pot and close the lid and wrap it with a towel for 9 hours. (just like mentioned in the recipe)
Karly says
I make my own coconut milk at home. Is there any reason my homemade milk wouldn’t produce a good yogurt? I’d like to avoid the can or culinary version if I can. Thank you!
Uma Raghupathi says
Hi Karly. I don’t know the exact reason. But I believe it is not thick as canned coconut milk. I tried once it was ok but the consistency was little watery...
Cheryl yap says
Hello, I would like to ask if I can use greek yogurt as a starter? I know it won't be vegan, but I dont mind the little bit of dairy (I'm not vegan). I'm doing a low carb high fat diet and would love to try coconut milk yogurt.
And also, can I strain the cooked yogurt to make it thicker instead of adding rice flour? Thanks for your thoughts.
Uma Raghupathi says
Hi Cheryl
I don’t know about Greek yogurt. But you can add normal yogurt( non vegan) as a starter. I never strained my yogurt, because I don’t mind thin yogurt. If you did please guide me through that 🙂
rice flour is an option for thick yogurt. Good luck and please leave your feedback. Thank you 🙏🏻
Joy says
If I pour the mixture into glass jars and place inside Instant Pot, do I need to add water to the pot? Also, do I need to cover the glass jars? Thank you!
Uma Raghupathi says
You don’t need to pour the water to the inner pot . And yes you can cover the jar. Hope you will get it right 👍
Carrie says
Hello! I was so excited to try this recipe. Followed the instructions and then placed in the fridge overnight. I was disappointed to find the next morning that the yogurt is quite runny and not thick like your picture. What did I do wrong?
Uma Raghupathi says
May be your coconut milk is low fat. I am doing this every week. Never got runny yogurt. Some times it will thin if we use low fat coconut milk. Hope you will get thick consistency next time. Thank you 😊
Ann says
I am a big fan of yogurt, both natural and with various flavours. I can’t imagine how I was living before without a yogurt maker! Now I often cook yoghurts, and they never annoy me. But even more than yogurts, I love coconuts and dishes with them! Of course, I could not pass this recipe. It will be difficult to wait until the yogurt is ready to eat, but I'm sure it's worth it!
Denise says
Can this recipe be doubled to make more at one time?
Uma Raghupathi says
Hi Denise.
Yes! Today I made it I will also update soon. Make sure ferment for longer time. I used previous batch culture. (added 1 tbsp of yogurt)
Latha says
Hi
This coconut milk yogurt—does it taste like the regular yogurt? Can you please reply to my email lcsrplaza@gmail.com
Uma Raghupathi says
Hi Latha. I think it taste better than regular yogurt.
Swathi says
I haven't tried coconut milk yogurt. Is it tangy or still has sweetness of coconut milk. I need to give this one try after buying vegan starter.
Uma Raghupathi says
Swathi it is tangy like regular curd. But I feel this is even better than regular yogurt 🙂
Emily C says
How cool! Is there anything the Instant Pot can't do?! Can't wait to say I've made my own yogurt soon!
Sonal says
I am so glad that you wrote a post about vegan yogurt. I get asked for it a lot of time. Now o can direct my readers here. Working on a yogurt post and might include your vegan version for pointers! Have a great day Uma 💕
Uma Raghupathi says
Thank you Sonal ❤️
Good luck with your recipe and thank you for referring me 🙂
Lisa says
Where do you buy vegan yogurt starter
Uma Raghupathi says
Hi Lisa! I bought it from amazon. I gave a link for that in my post. Please check it out! Hope you will try this out soon:)
Heidy says
This was a fantastic recipe that the entire family enjoyed. I will making my own more often. Great instructions!
Erin says
Have you ever doubled the amount of coconut milk for this recipe to make more at once? The instructions on the vegan starter culture say that one sachet yields 1-2 quarts of yogurt, yet this recipe yields less than 2 cups using one sachet. I'm curious why it is less.
Uma Raghupathi says
Hi Erin. No I did not. I used that sachet for soy milk too. That time I did according to the culture instructions. But for coconut milk, it took longer when I added the amount that they show in instructions. So I used all of it instead. Very soon, I am going to double the amount of coconut milk and send an update. Thank you for asking this! This really helps in knowing what to update and how I can help readers like you better.
Danielle says
Mmmm, it would be perfect for a Saturday morning, or any morning in fact. Easy, healthy and delicious - can't wait to try it!